Whether you are using CAM software or writing manual code, getting your toolpaths right is the difference between a perfect part and a costly crash.
As someone who has spent years troubleshooting setups on the shop floor, I’ve put together a definitive, step-by-step guide to how to program a CNC machine. From your initial CAD software design to setting your work coordinate system and running that first test cut, we’re covering it all.
Let’s dive right in.
What Is CNC Programming?
CNC (Computer Numerical Control) programming is the foundational language that bridges the gap between digital design and physical manufacturing. By converting a 3D model into precise geometric coordinates, CNC programming dictates every movement of a machine’s cutting tools. For global manufacturing hubs and specialized workshops alike, mastering this process is essential to achieving automated, high-precision production on machinery ranging from heavy-duty industrial mills to precision CNC wood routers.
Understanding the Basics of CNC Machines
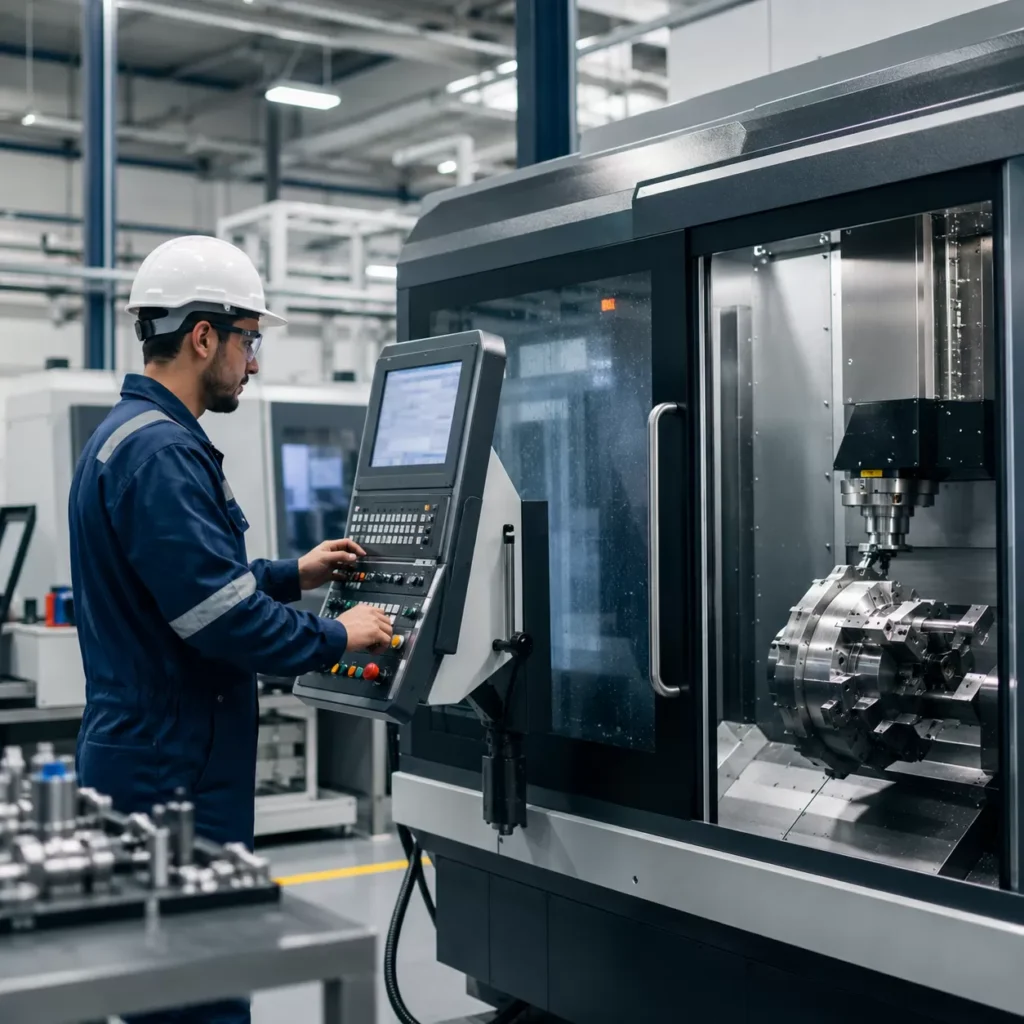
At its core, a CNC machine is a motorized maneuverable tool controlled by a computer according to specific performance instructions. Unlike manual machining, where an operator hand-turns wheels and levers, a CNC machine automates these movements across multiple axes (typically X, Y, and Z).
- The Controller: Act as the brain of the machine, reading the programmed code and converting it into electrical signals.
- The Drive System: Comprises motors and ball screws that move the spindle or workpiece to precise locations.
- The Machine Components: Includes the worktable, cutting tools, and the spindle, which rotates the tool at high speeds to cut the material.
The Role and Importance of CNC Programming
CNC programming is the critical link that guarantees repeatability, efficiency, and flawless accuracy in modern manufacturing. Without precise programming, even the most advanced CNC wood routers or metal mills remain stationary.
- Eliminates Human Error: Automation ensures every single part produced matches the exact dimensions of the digital blueprint.
- Optimizes Manufacturing Efficiency: Programmed toolpaths maximize material utilization and reduce cycle times, directly lowering production costs.
- Enhances Safety: Operators manage the production cycle from a digital interface, keeping them away from high-speed cutting zones.
- Enables Complex Geometries: Intricate 3D curves, deep pockets, and complex engraving that are impossible to achieve manually become effortless with precise coding.
Understanding G-Code and M-Code
CNC programming relies primarily on two types of standardized languages: G-code and M-code. Together, they form the complete instructions required by the machine controller.
| Code Type | Function | Description & Examples |
|---|---|---|
| G-Code (Geometric Code) | Controls Motion | Directs the tool’s movement, positioning, and speed. • G00: Rapid positioning (moving quickly to a point without cutting) • G01: Linear interpolation (controlled straight-line cutting motion) |
| M-Code (Miscellaneous Code) | Controls Functions | Manages the non-geometric machine actions and hardware status. • M03: Start spindle rotation clockwise • M05: Stop spindle rotation • M08: Flood coolant turn on |
By combining G-code coordinates for exact positioning with M-code commands for hardware activation, programmers create a reliable, automated environment capable of executing flawless fabrication.
Types of CNC Programming Methods
Choosing the right programming method depends entirely on your shop’s setup, the complexity of the part design, and your team’s experience level. As a premier CNC wood routers manufacturer and supplier, we see shops utilize three distinct methods to command their machinery.
Manual CNC Programming
Manual programming requires the operator to write every line of code by hand. You write out the exact g-code and m-code instructions to dictate the machine’s path, speed, and tooling changes.
- Best For: Simple parts, quick modifications, and learning the fundamentals of CNC coding.
- The Catch: It is incredibly time-consuming and leaves a high margin for human error on complex geometries.
CAM Software Programming
For modern manufacturing and intricate 3D carving, cam software programming is the industry standard. This method acts as the bridge between a digital concept and physical manufacturing.
- Design: You create a 3D model or 2D layout using cad software (computer-aided design).
- Define Parameters: Inside the cam software (computer-aided manufacturing), you set your specific tool selection, spindle speed, and feed rate.
- Generate: The software automatically calculates the precise toolpaths and translates them into flawless machine code.
If you are manufacturing detailed furniture or complex reliefs using industrial CNC wood routers, utilizing a dedicated CAD/CAM workflow is essential to ensure high precision and efficiency.
Conversational Programming
Conversational programming happens right at the machine control panel. Instead of writing code or importing files, the operator uses an intuitive, wizard-like interface to input basic shapes and dimensions.
How it works: The machine asks questions like “What is the pocket depth?” or “What is the hole diameter?”, and then automatically generates the necessary code in the background.
It is an ideal choice for a beginner or shops running short-run production pieces who need to set up and cut immediately without spending hours behind a computer screen.
How to Program a CNC Machine: A Step-by-Step Guide
Programming a CNC machine might seem complicated at first, but breaking it down into a clear, step-by-step workflow makes the process manageable and highly repeatable. As a CNC manufacturer, we use this exact sequence to take ideas from a rough concept to a perfectly machined physical part.
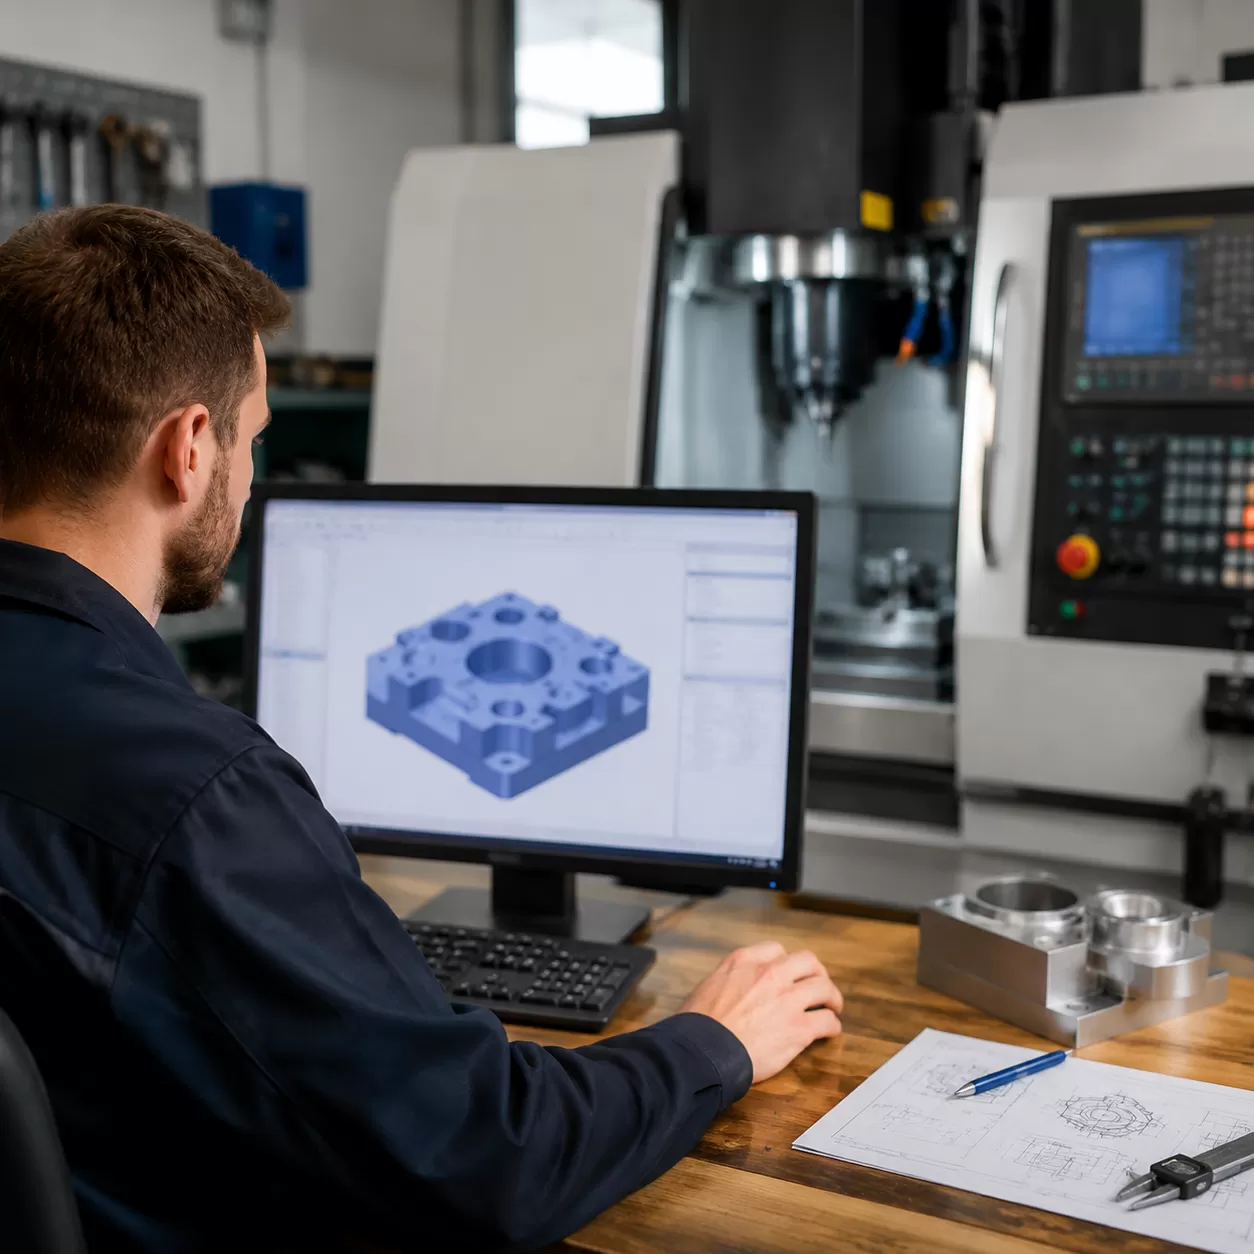
Step 1: Create the Part Design Using CAD Software
Every successful machining project begins with a digital blueprint. You will use Computer-Aided Design (CAD) software to sketch and model your 2D or 3D part design.
- Focus on Accuracy: Ensure all dimensions, tolerances, and geometries are exact.
- Design for Machining: Keep your specific machinery in mind. For example, if you are working with a hobby CNC router, avoid designing internal corners that are sharper than the radius of your smallest cutting tool.
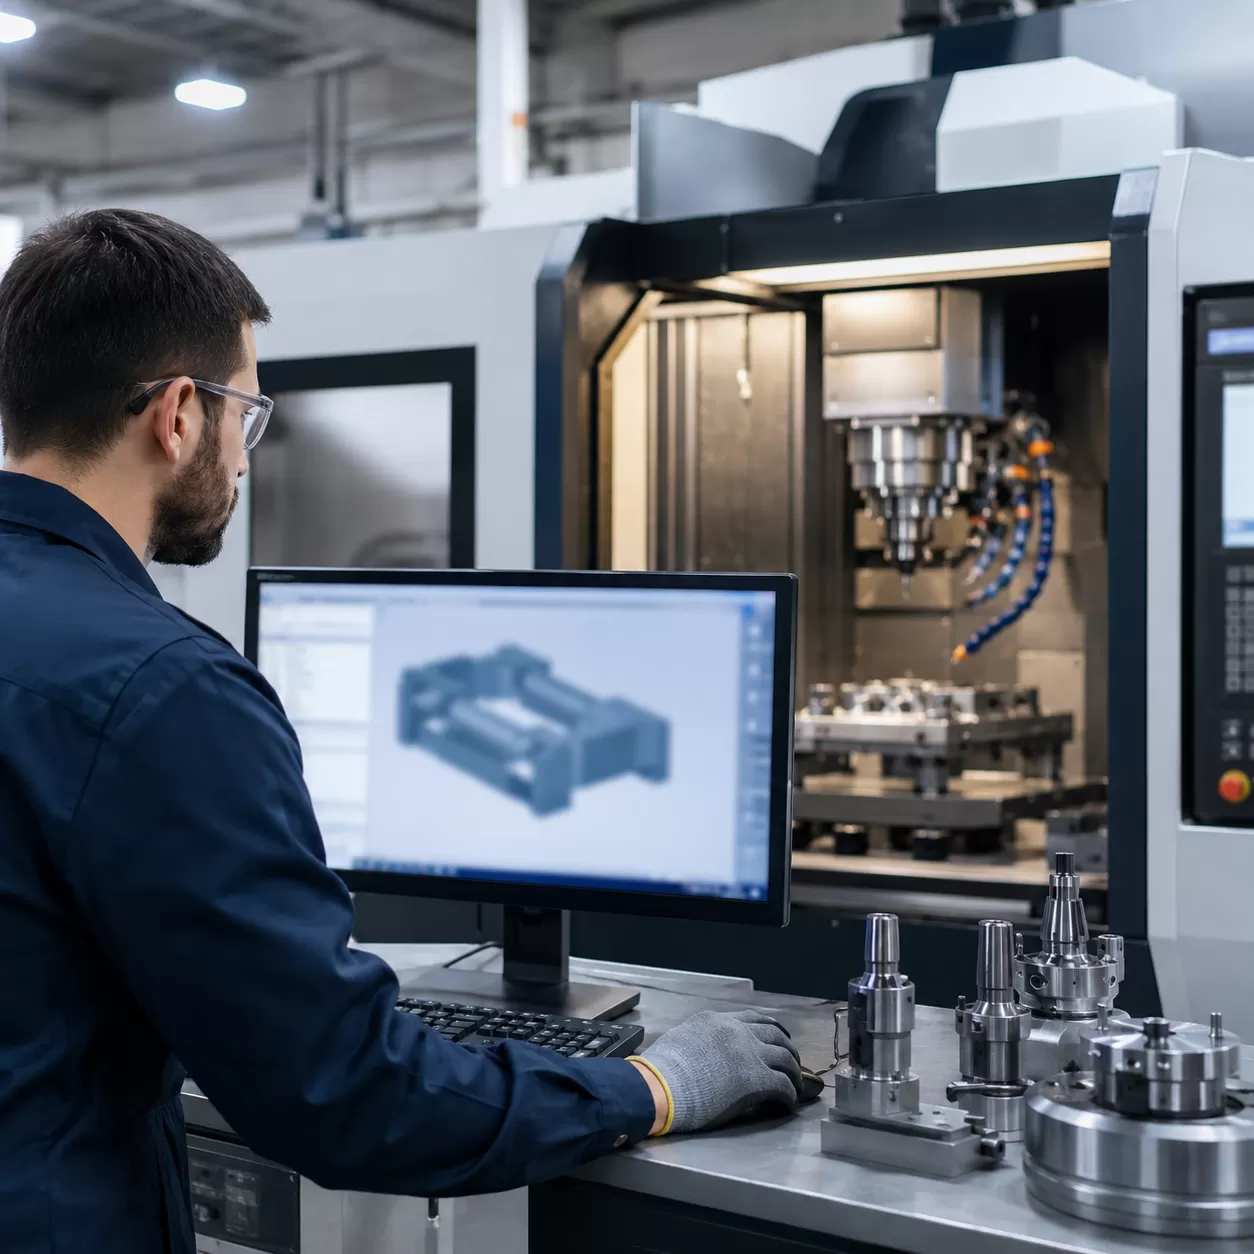
Step 2: Generate Toolpaths and Convert via CAM Software
Once the CAD model is ready, it is imported into Computer-Aided Manufacturing (CAM) software. This is where you define exactly how the machine will cut the material.
- Tool Selection: Choose the correct end mills, drills, or routers based on the material (wood, plastic, or metal).
- Set Machine Parameters: Define the spindle speed (how fast the tool spins) and the feed rate (how fast the tool moves through the material).
- Define Toolpaths: Map out the roughing clears and finishing passes to optimize cutting efficiency and surface finish.
Step 3: Post-Processing and G-Code Generation
Your CNC machine cannot read a CAD file directly; it needs specific coordinates. The CAM software utilizes a “post-processor” tailored to your specific machine controller to translate the visual toolpaths into raw code.
- G-code: Commands that control the motion, directing where the tool moves, how fast it travels, and what path it follows.
- M-code: Miscellaneous functions that manage machine actions, such as turning the spindle on or activating coolant systems.
Step 4: Set Up the CNC Machine and Work Coordinate System
With the program ready, move over to the physical machine. Proper physical setup prevents broken tools and ruined workpieces.
- Secure the Material: Clamp your stock material firmly to the machine bed.
- Install Tooling: Load the correct cutters into the spindle or tool changer. If you run high-production environments, an ATC CNC router will automate this step entirely.
- Set the Work Coordinate System (WCS): Define the $X$, $Y$, and $Z$ zero positions (the origin point) so the machine knows exactly where the raw material sits relative to the program.
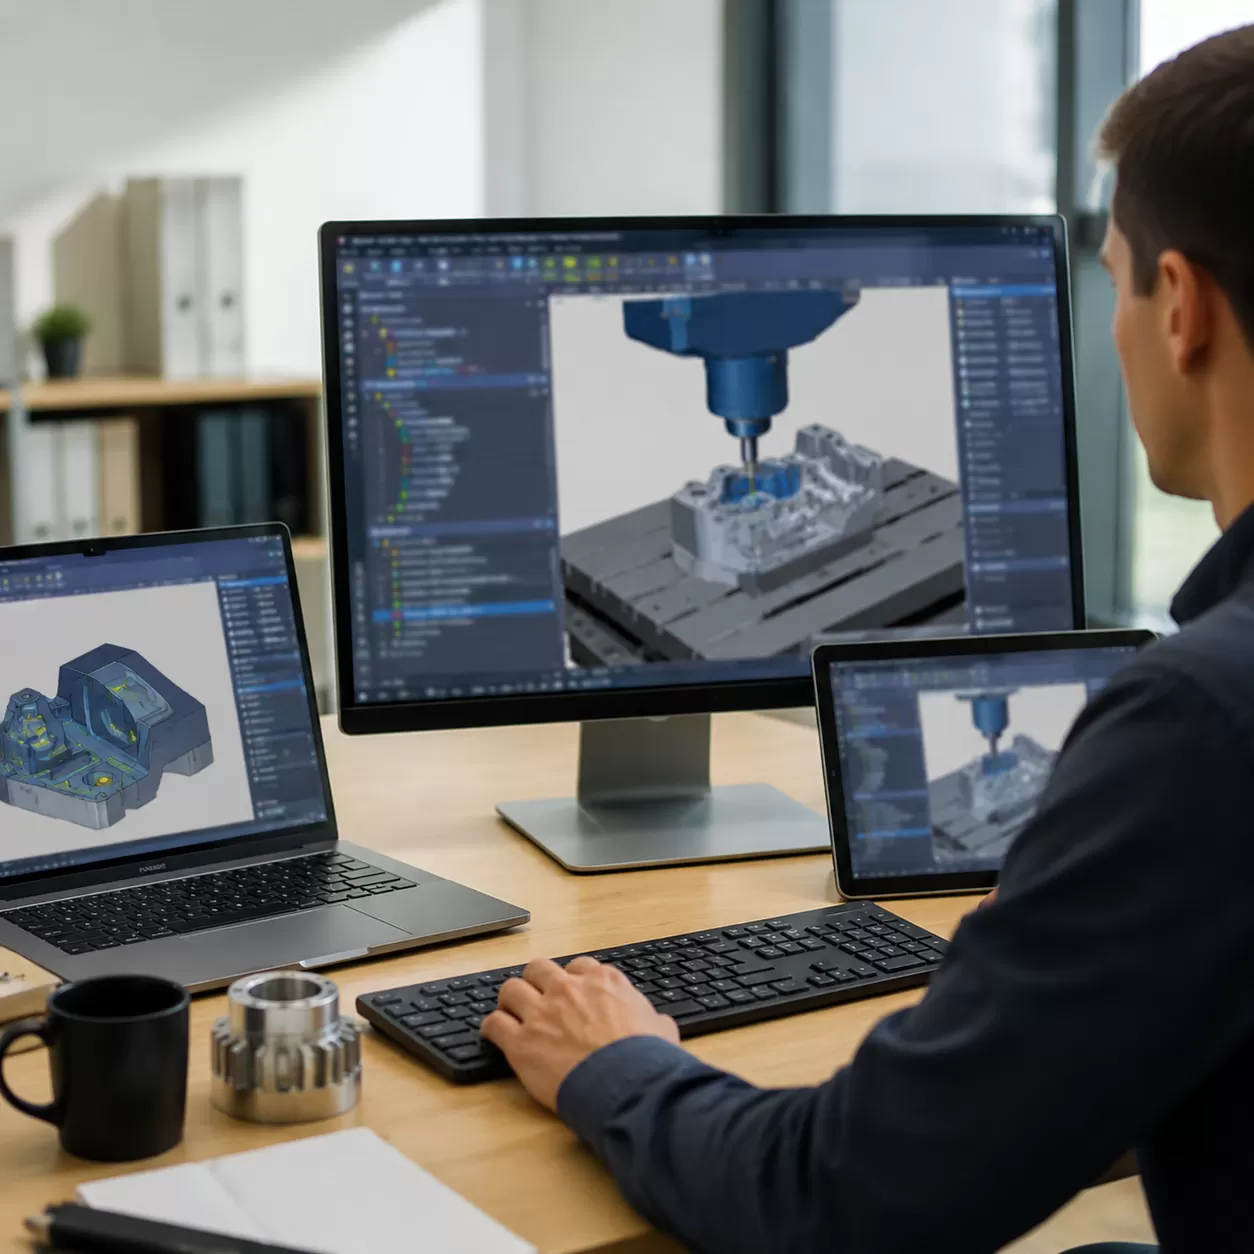
Step 5: Simulate the Program and Verify Toolpaths
Never run a new program blindly. Use the simulation features on your CAM software or machine controller to preview the entire cutting process on screen.
- Check for potential tool collisions with clamps or fixtures.
- Verify that the cutting depths do not exceed the tool lengths.
- Ensure the toolpath sequence makes logical sense and clears material safely.
Step 6: Run a Test Cut and Execute Production
The final step is to execute the program and monitor the initial results before jumping into full production.
| Phase | Action Item | Purpose |
|---|---|---|
| Air Run | Execute the program with the $Z$-axis offset high above the material. | Verifies movement without risk of crashing. |
| Test Cut | Run the program on a piece of scrap material (like soft foam or wood). | Validates dimensional accuracy and surface quality. |
| Live Run | Load the actual workpiece and run the final production. | Keeps hands away from the workspace while monitoring feed adjustments. |
Popular Software for CNC Machine Programming
CAD/CAM Software Options
To turn a digital idea into a physical part, you need the right digital tools. Choosing the right computer-aided design (CAD) and computer-aided manufacturing (CAM) software is what bridges the gap between your raw design and the final toolpaths. As a CNC wood routers manufacturer and supplier, we see firsthand how the right software simplifies your workflow.
Here is a breakdown of the industry-standard software options used globally for CNC machine programming:
| Software Name | Type | Best For | Key Advantage |
|---|---|---|---|
| Fusion 360 | Integrated CAD/CAM | All-in-one modeling & toolpathing | Excellent cloud collaboration and advanced simulation |
| Vectric VCarve | Specialized CAM | Woodworking & CNC Routers | Highly intuitive for 2D/3D carving and nesting |
| SolidWorks | Premium CAD | Complex mechanical design | Unmatched parametric modeling capabilities |
| Mastercam | Dedicated CAM | Industrial milling & turning | Power-packed toolpath optimization for complex machining |
Choosing the Right Program for Your CNC Machine
Selecting the ideal software depends heavily on your specific business needs, your budget, and what you are manufacturing. If your shop focuses on cabinetry or custom furniture, you need software optimized for woodwork and nested layouts. For instance, pairing a specialized design program with a high-efficiency cabinet CNC machine ensures seamless g-code generation and minimizes material waste.
Consider these core factors before investing in a software package:
- The Complexity of the Parts: Simple 2D cutting requires basic CAM software, while intricate 3D molds demand advanced multi-axis programming.
- Learning Curve: Some programs feature beginner-friendly, conversational interfaces, while others require extensive training in manual coding structures.
- Machine Compatibility: Ensure the software includes a reliable post-processor that matches your exact CNC machine controller.
Tips for Beginners Learning CNC Programming
As a CNC Wood Routers Manufacturer and Supplier, we often see new operators feel intimidated by the software side of machining. However, mastering how to program a CNC machine is entirely doable when you break the process down into manageable steps. Whether you are a complete beginner or transitioning from traditional woodworking, having the right approach makes all the difference.
How Difficult Is It to Learn CNC Programming?
The difficulty largely depends on your starting point and the programming method you choose. If you plan to write raw g-code and m-code line by line, the learning curve is steep. Fortunately, modern computer-aided design (CAD) and computer-aided manufacturing (CAM) tools do the heavy lifting for you.
With visual interfaces, you can generate complex toolpaths without needing to memorize hundreds of commands. Most operators can pick up the basics within a few weeks, especially when starting on an accessible machine like a 3-axis CNC wood router.
Best Resources and Methods to Learn CNC Coding
You do not need a four-year degree to start making chips. Here are the most effective ways to learn:
- Online Tutorials: Video platforms and machining forums are packed with free, step-by-step guides on mastering your cad software and cam software.
- Software Simulators: Before cutting real material, use CAM simulation tools to watch your program run virtually and catch errors early.
- Hands-On Practice: Start simple. Create a basic part design, set conservative parameters, and run it on scrap material.
- Manufacturer Guidelines: Always review the manuals, default parameters, and training materials provided with your CNC router.
Common Mistakes to Avoid for Successful Machining
Even experienced machinists make errors, but you can save time and money by avoiding these common beginner traps:
- Guessing Feeds and Speeds: Incorrectly setting your spindle speed and feed rate is a quick way to snap bits or burn your material. Always use speed/feed calculators or tooling charts.
- Poor Tool Selection: Using the wrong router bit will ruin your finish. Match your tooling strictly to the material and the specific type of cut.
- Forgetting to Set Z-Zero: Always double-check your work coordinate system before hitting start. Crashing the spindle into the machine bed is an expensive mistake.
- Skipping the Simulation: Never run a program blind. Always simulate the generated code first to verify tool movements and prevent unexpected collisions.
FAQs
Can I program a CNC machine without CAM software?
Yes, you can write g-code manually for simple parts, drilling patterns, or basic facing operations. However, for complex 3D shapes, molds, or detailed wood carvings, using CAM software is essential to accurately calculate intricate toolpaths and save production time.
What is the difference between G-code and M-code?
- G-code (Geometric Code): Controls the movement and actions of the machine, such as rapid positioning, linear interpolation, and feed rates.
- M-code (Miscellaneous Code): Manages the machine’s helper functions, including turning the spindle speed on or off, activating coolant, and stopping the program.
How long does it take to learn CNC programming?
A beginner can master basic conversational programming and simple 2D computer-aided manufacturing setups within a few weeks. Achieving proficiency in advanced multi-axis CAD/CAM software and complex part design typically takes several months of hands-on practice.
What happens if the spindle speed or feed rate is wrong?
Incorrect cutting parameters can lead to poor surface finishes, rapid tool wear, or broken cutters. If the spindle speed is too high relative to the feed rate, the material can burn—a common issue during intensive wood routing or when manufacturing a high-precision mold prototyping setup.