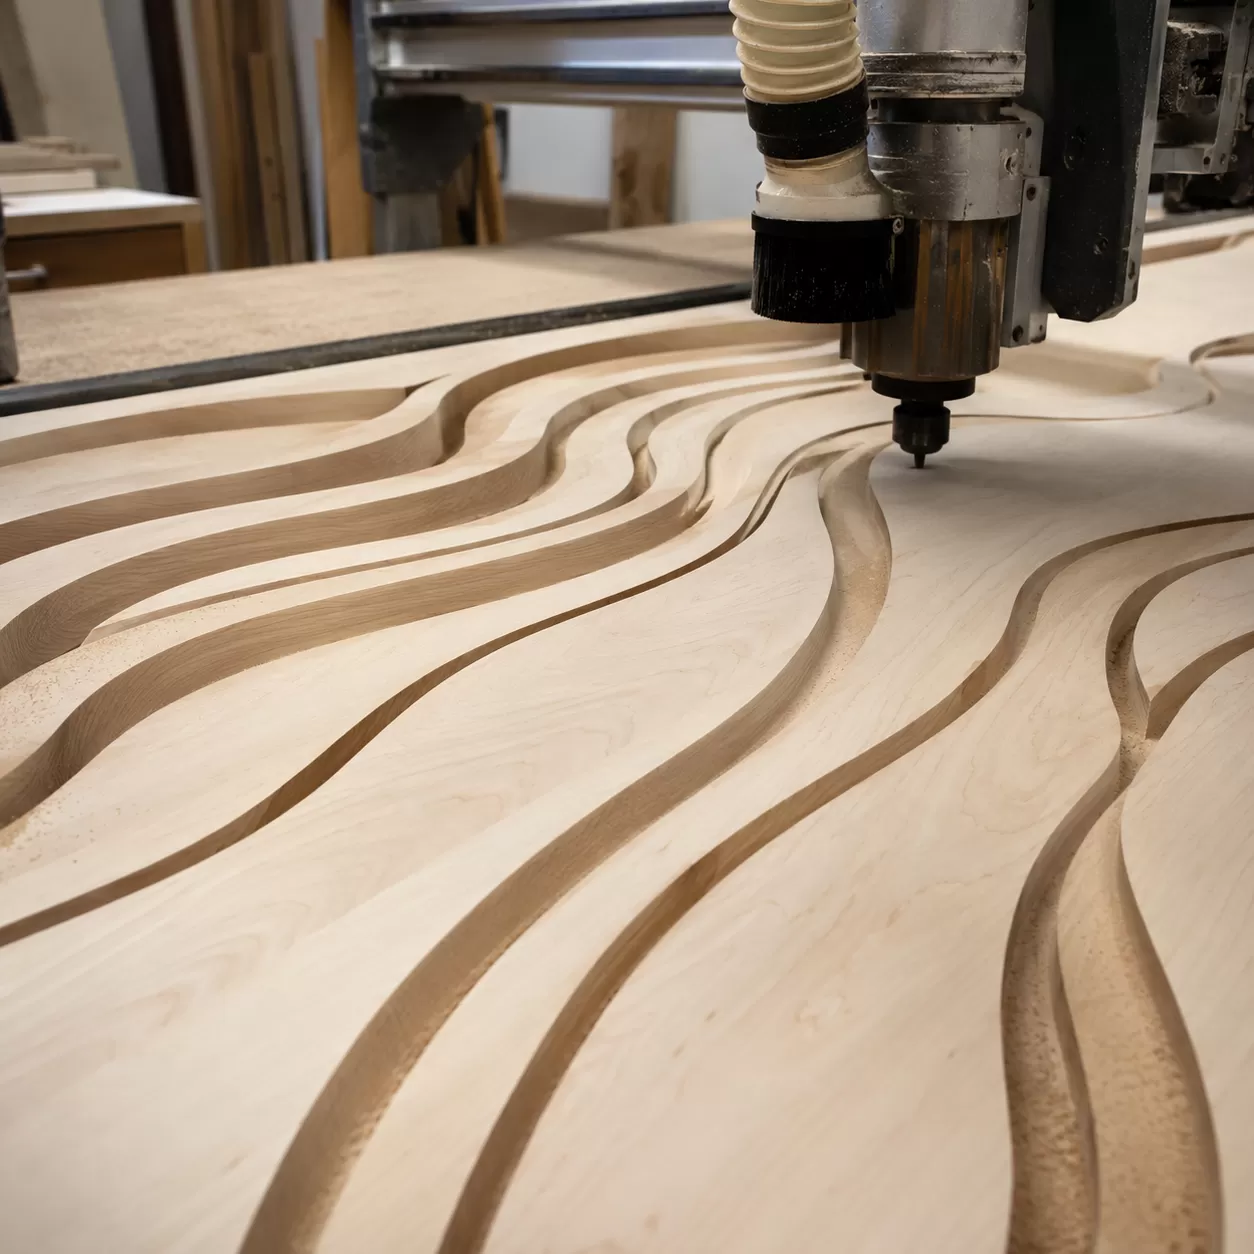
How a CNC Router Translates Curves
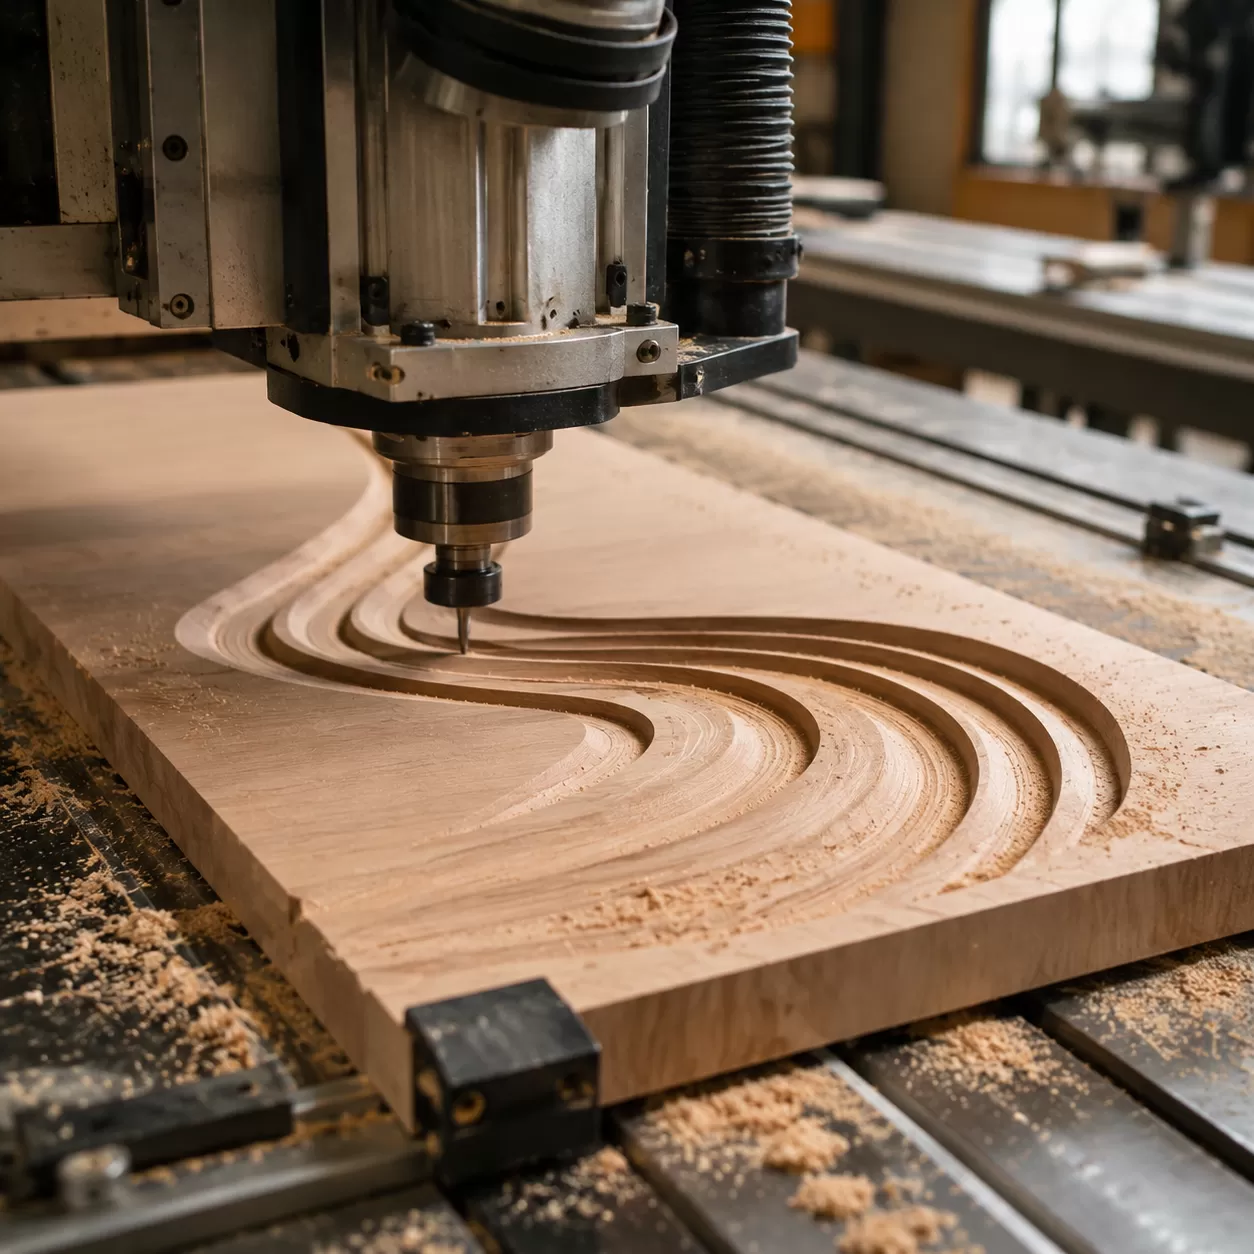
To get smooth arcs from a digital design to a physical piece of wood, the machine relies on a flawless translation process. It all starts in your design software and ends with the precise firing of motor commands.
Vector Construction: CAD/CAM Software and Bezier Curves
Every curved cut begins as a vector path inside your CAD/CAM toolpaths software. Instead of using pixels, these programs use Bezier curves—mathematical formulas defined by anchor points and control handles.
- The Design Phase: You draw a smooth, continuous line.
- The CAM Phase: The software calculates the exact spatial coordinates of that line. It determines how the center of the router bit must travel to replicate that shape without gouging the wood.
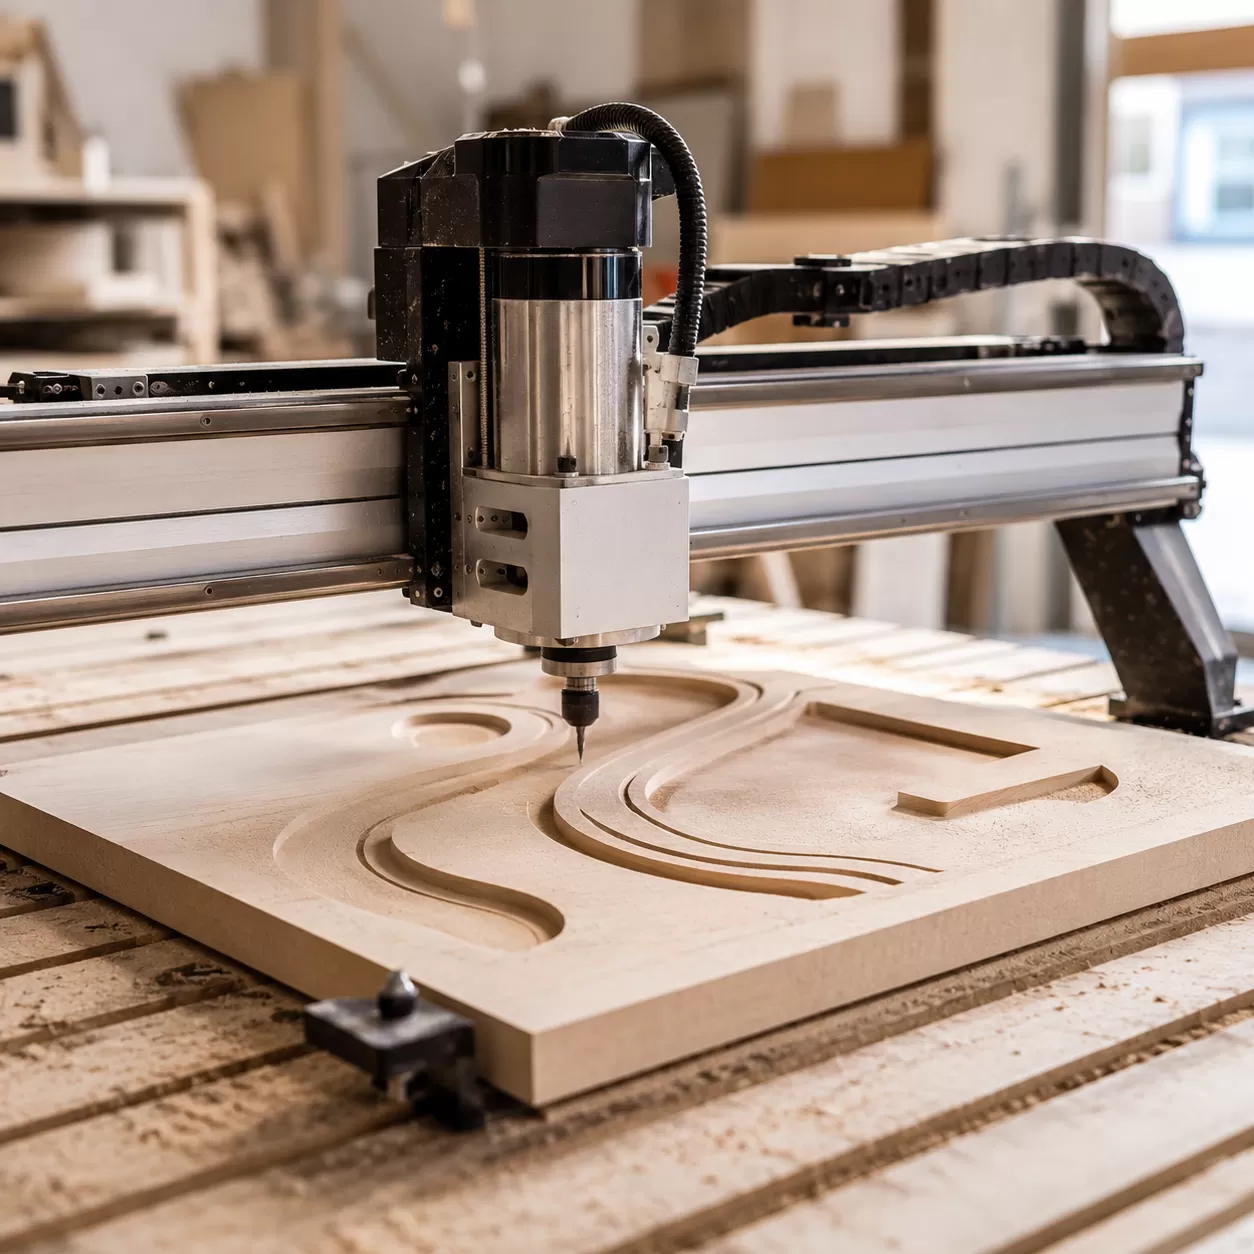
G-Code Commands: True Arcs vs. Faceted Curves
Once the design is finalized, the CAM software compiles the visual lines into G-code, the universal language of CNC machinery. How this code is generated determines whether your edge is perfectly smooth or looks like a jagged stop-sign.
| G-Code Command | Cutting Action | Visual Result |
|---|---|---|
| G02 / G03 | True Arc Commands (Clockwise / Counter-Clockwise) | Perfectly fluid, continuous smooth arcs |
| G01 | Linear Interpolation (Straight lines) | Faceted, choppy edges made of tiny straight segments |
High-performance CNC systems use true arc commands (G02 for clockwise and G03 for counter-clockwise curves). Instead of breaking a circle down into thousands of tiny straight lines (G01 commands), G02 and G03 tell the machine control system the exact center point and radius of the arc. This allows the X and Y axes to accelerate and decelerate in perfect harmony, eliminating jagged steps and delivering a flawless, retail-ready edge profile right off the machine bed.
Selecting the Right Tooling for Curved CNC Cuts
Standard straight cuts are forgiving, but arcs demand specific bit selections and toolpath strategies to avoid chatter marks and rough edges.
The Roughing vs. Finishing Strategy
A two-pass system is mandatory for flawless curves. Attempting to cut a deep radius in a single pass deflects the bit, ruining the arc profile.
- Roughing Pass: Leaves a small amount of material (around 0.5mm to 1mm) using an aggressive toolpath. This absorbs the brunt of the cutting forces.
- Finishing Pass: Uses a pristine finish cutter to remove the remaining stock at full depth, ensuring a perfectly smooth, dimensionally accurate arc.
Upcut Spiral vs. Straight Router Bit
Choosing between an upcut spiral bit and a straight router bit depends heavily on how you manage chip clearance on deep radius cuts.
| Bit Type | Performance on Curves | Best Use Case |
|---|---|---|
| Upcut Spiral Bit | Excellent. Pulls chips upward and out of the curved groove instantly, preventing heat buildup. | Deep arcs, pocketing, and heavy material removal. |
| Straight Router Bit | Fair. Struggles to clear chips in tight radius curves, increasing the risk of burning. | Shallow cuts or basic profiling where downward pressure isn't required. |
For high-volume production, utilizing an industrial-grade CNC wood router ensures the machine maintains the rigidity needed to handle these spiral forces without flexing.
Specialty Tooling for Profiles
Standard bits cannot handle complex, three-dimensional curves. For advanced profiling, specialized geometry is required:
- Ball-End Cutters: Essential for 3D contoured surfaces and sweeping fluid curves. The rounded nose eliminates sharp steps between toolpath lines.
- Pattern Bit & Flush Trim Bit Options: Used primarily for cleaning up tabs or matching a master template after the main CNC operation.
Material-Specific Tooling Selection
Different core materials react uniquely to the torsional forces of curved cutting.
- MDF: Highly abrasive but lacks grain structure. Use carbide-tipped downcut or compression spiral bits to keep the edges crisp and prevent fuzzy top surfaces.
- Plywood: Prone to delamination and splintering along the veneer. A compression bit is ideal here because it forces the top and bottom plies toward the center of the sheet.
- Solid Hardwoods: The grain direction changes constantly along a curve. Use sharp, multi-flute upcut spiral bits to cleanly slice through changing grain angles without tearing out the wood fibers.
Overcoming the Wood Grain Challenge on Curves
Cutting a straight line in timber is predictable, but a curved path forces your tool to constantly change its orientation relative to the wood fibers.
The Geometry of a Curve
As a CNC router executes a radius, the bit continuously rotates through three distinct grain structures:
- Face Grain: The stable top surface where the bit shears fibers easily.
- Edge Grain: The side profile where fibers run parallel to the cut.
- End Grain: The vulnerable area where the bit hits open, vertical straw-like fibers head-on.
Because the toolpath transitions rapidly from edge grain to end grain, the cutting forces change instantly. If the toolpath parameters or tooling are incorrect, this transition creates severe tear-out and chipping along the exit radius.
Preventing End Grain Blowout
Achieving smooth arcs without splitting the material requires a proactive approach to toolpath programming and tool maintenance.
- Segmented Cutting Directions: Instead of cutting a full circle in a single continuous loop, program your CAD/CAM toolpaths to split the arc. Cut downhill with the grain across different segments to ensure the knife edge always shears down onto supported fibers.
- Keep Tooling Razor-Sharp: A dull bit hacks at the wood, while a pristine solid carbide cutter slices clean. For automated turning and specialized curved profiles, pairing your router work with a dedicated CNC wood lathe can also yield highly efficient, blowout-free circular parts.
- Score the Boundary: Use a shallow initial climb cutting pass to score the outer perimeter of the curve before plunging into the full depth roughing passes. This traps the wood fibers and prevents them from lifting.
Feeds, Speeds, and Cutting Direction for Flawless Arcs
Achieving smooth arcs when you can wood router cnc cut curves requires precise control over your toolpaths. The dynamic nature of a curve means your machine is constantly changing direction, which directly impacts edge quality. Balancing your cutting direction and feed rates is the only way to eliminate surface imperfections.
Climb Cutting vs. Conventional Milling on Curves
Choosing how the router bit engages the wood determines whether you get a clean edge or a ruined workpiece.
- Climb Cutting: The router bit rotates with the direction of the feed. On curved profiles, this significantly reduces end grain tear-out and produces a superior surface finish. However, it requires a rigid machine to prevent the tool from pulling into the material.
- Conventional Milling: The bit rotates against the feed direction. While it offers more stability on lighter CNC frames, it often leads to rougher edges and chatter marks as the tool transitions through varying grain directions on a tight radius.
| Cutting Strategy | Pros for Curves | Cons for Curves | Best Used For |
|---|---|---|---|
| Climb Cutting | Eliminates tear-out, leaves a flawless finish | Requires high machine rigidity | Outer profiles, final finish passes |
| Conventional Milling | Stabilizes the tool, reduces deflection | High risk of splintering end grain | Roughing passes, deep pocketing |
Managing the Feed Rate Flex
When a CNC router cuts a straight line, maintaining a constant spindle speed and feed rate is straightforward. However, when navigating tight inside curves, the linear speed of the machine slows down while the rotational speed of the spindle stays the same.
This deceleration creates a major issue: dwell marks and wood burning. Because the bit dwells too long in one spot, friction builds up rapidly. Advanced CAD/CAM toolpaths must utilize adaptive feed rates that automatically drop the feed speed on tight corners while adjusting the spindle RPM to keep the chip load consistent, ensuring an burn-free, uniform edge throughout the entire arc.
Workholding Strategies for Arched and Curved Parts
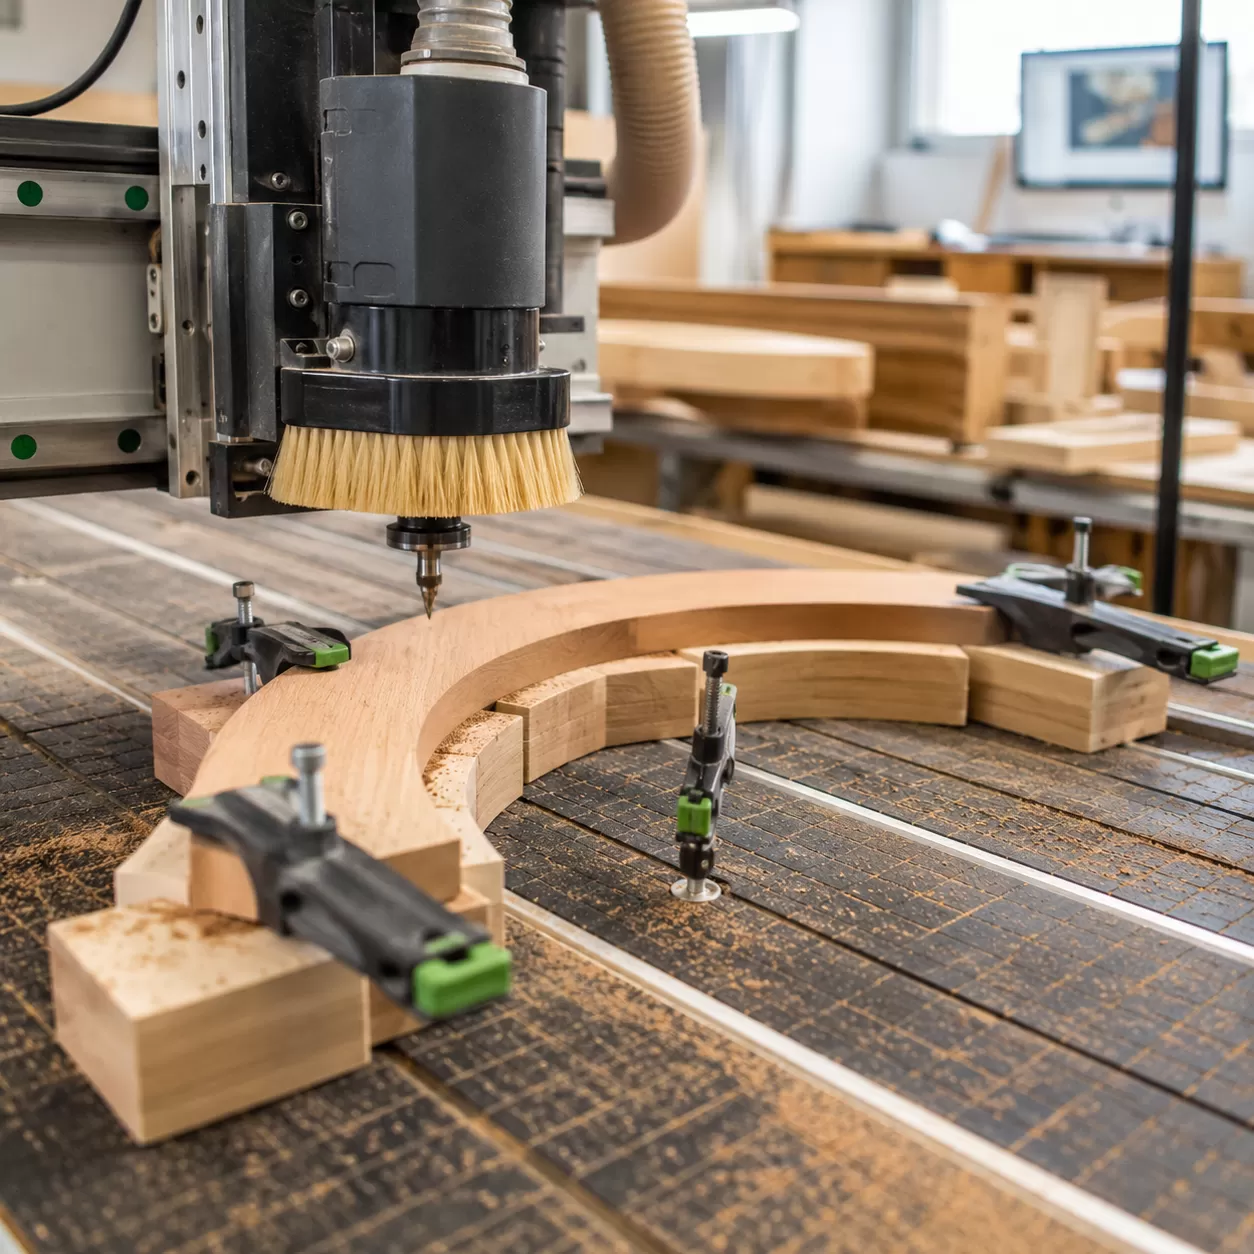
Cutting curves on a CNC wood router introduces unique lateral forces that can easily shift your material mid-cut. Standard clamping often falls short when routing complex radii, making specialized workholding strategies essential for maintaining accuracy and safety.
The Danger of Part Release and Thin Off-Cuts
When a wood router cnc cuts curves, the onion-skinting or final pass separates the main part from the waste material. These awkward, crescent-shaped off-cuts can instantly become dangerous projectiles if they get caught by a spinning router bit. Worse, if the primary part shifts even a fraction of a millimeter before the toolpath finishes, the entire workpiece is ruined. Secure workholding ensures that both the finished arched part and the scrap material remain completely immobile.
Pro Hold-Down Methods for CNC Curved Cuts
To achieve clean, uninterrupted arcs without clashing with physical clamps, industrial operators rely on four primary hold-down techniques:
- Vacuum Pods: Ideal for dedicated curved components. They elevate the workpiece off the main matrix table, allowing the router bit to cut clean profile edges without marking the spoiler board.
- Skinning (Onion Skinning): This CAM strategy leaves a ultra-thin layer of material (around 0.5mm) on the first pass. The skin preserves the vacuum seal and holds the part steady, requiring only a quick utility knife trim afterward.
- Holding Tabs: Small, strategically placed bridges of wood connect the curved part to the scrap area. They hold the piece rigid during high-speed machining and are easily sanded away later.
- Double-Sided CNC Tape: Excellent for smaller, intricate curves or prototypes where vacuum fixtures are unavailable. It offers high shear resistance against lateral cutting forces.
Maintaining these systems with quality CNC router parts ensures consistent vacuum pressure and rigid mechanical clamping, preventing part movement and guaranteeing flawless curved edges every time.
The ProMach Advantage
When you need a wood router CNC to cut curves with flawless accuracy, machine rigidity is everything. Cutting a straight line is relatively simple, but interpolating a true, smooth arc requires tight coordination between multiple axes. Any structural weakness in the machinery will immediately show up as defects in your finished woodwork.
Why Machine Frame Flex Ruins Arcs
If a CNC machine lacks structural mass, the physical forces generated during directional changes cause the frame to deflect. This machine frame flex introduces micro-vibrations and rough, jagged steps along your curved profiles. Instead of a fluid, continuous sweep, the toolpath degrades into a series of tiny, visible flats that require extensive manual sanding to fix.
ProMach Engineering Solutions
We engineer our CNC machining centers with heavy-duty, all-steel welded frames that are stress-relieved to eliminate structural flexing entirely. This rigid foundation allows our equipment to maintain extreme precision even during high-speed routing.
- High-Horsepower Spindles: Deliver constant torque throughout the cut, preventing the RPM drops that lead to wood burning or tool chatter on tight radius geometry.
- Advanced Servo Control Systems: Provide real-time closed-loop feedback, ensuring the X and Y axes move in perfect synchronization for flawless geometric circles and complex vector curves.
- Vibration Absorption: The sheer mass of the industrial chassis absorbs cutting harmonics, keeping the router bit perfectly stable as it transitions through varying wood grain directions.
FAQs About Cutting Curves on a CNC Wood Router
Can a standard wood router cnc cut curves without leaving jagged edges?
Yes, a high-quality CNC wood router can cut perfectly smooth arcs without leaving jagged or faceted edges. Jagged edges usually happen when CAD designs are exported as a series of short, straight lines (G01 commands) instead of true arc commands (G02/G03). To get flawless curves, ensure your CAM software outputs true arcs and that your machine possesses the structural rigidity to eliminate micro-vibrations during directional changes.
What is the best router bit for cutting smooth arcs in plywood?
For cutting curves in plywood, an upcut spiral bit or a specialized compression bit is the best choice. A straight router bit tends to trap heat and chips in tight radii, whereas a spiral design continuously pulls chips upward out of the cut. If you are machining complex 3D curves or contoured profiles, a ball-end cutter or a dedicated finish cutter will yield the smootsh surfaces and minimize your post-sanding assembly work.
How do I stop wood from burning when CNC routing tight inside curves?
Wood burns when the tool dwells too long in one spot, generating excessive friction. When a CNC router slows down to navigate tight inside curves, you must adjust your spindle speed and feed rate.
To prevent burning on dense materials like MDF or solid hardwoods, use these strategies:
- Reduce Spindle Speed: Lower the RPM when the machine decelerates for corners.
- Use Loop Toolpaths: Program the tool to sweep past the corner rather than stopping abruptly.
- Ensure Sharp Tooling: Dull bits generate heat instantly; always use sharp, clean cutters.
Should I use climb cutting or conventional milling for curved profiles?
For the cleanest edge finish on curved wood parts, a combination of both methods works best.
| Cutting Method | Best Used For | Advantages on Curves |
|---|---|---|
| Climb Cutting | Finishing passes on most wood grains | Eliminates end grain tear-out and leaves a smooth arc. |
| Conventional Milling | Roughing passes and deep hogging | Reduces tool deflection and stabilizes the cut in heavy material. |
When routing complex shapes, executing a roughing pass with conventional milling followed by a final 0.5mm skin pass using climb cutting guarantees a flawless finish without chatter marks. For dedicated furniture production, using specialized furniture CNC router setups with optimized toolpaths will deliver the cleanest results across all grain directions.